I'm really looking forward to Christmas this year because Katelyn can begin to understand and remember the holiday traditions. I wanted to have an Advent calendar for her, but I had a long list of criteria: not all chocolate, not too expensive, reusable for next year, sturdy enough that she won't destroy it, and affordable (aka...less than $20). Pottery Barn had lovely, wood calendars that I couldn't afford, and Pinterest had a lot of ideas that were too easy to destroy. (Advent would be over in one, big, hit...http://www.pinterest.com/pin/284641638922331930/.)
A friend of mine (hi Kelli) was pinning for her boys. She found a bunch of cute Advent calendars, but this one caught my eye.
 |
| http://www.pinterest.com/pin/20477373279333553/ |
This was super cute, but I wanted to incorporate some color and make it reusable. Here is what I did:
I cut paper towel rolls into thirds and spray painted 1/2 white and 1/2 red. Boxes helped to keep the spray paint contained.

Next I Mod Podged wrapping paper to 1/2" foam board that I had trimmed to fit the 24 tubes.
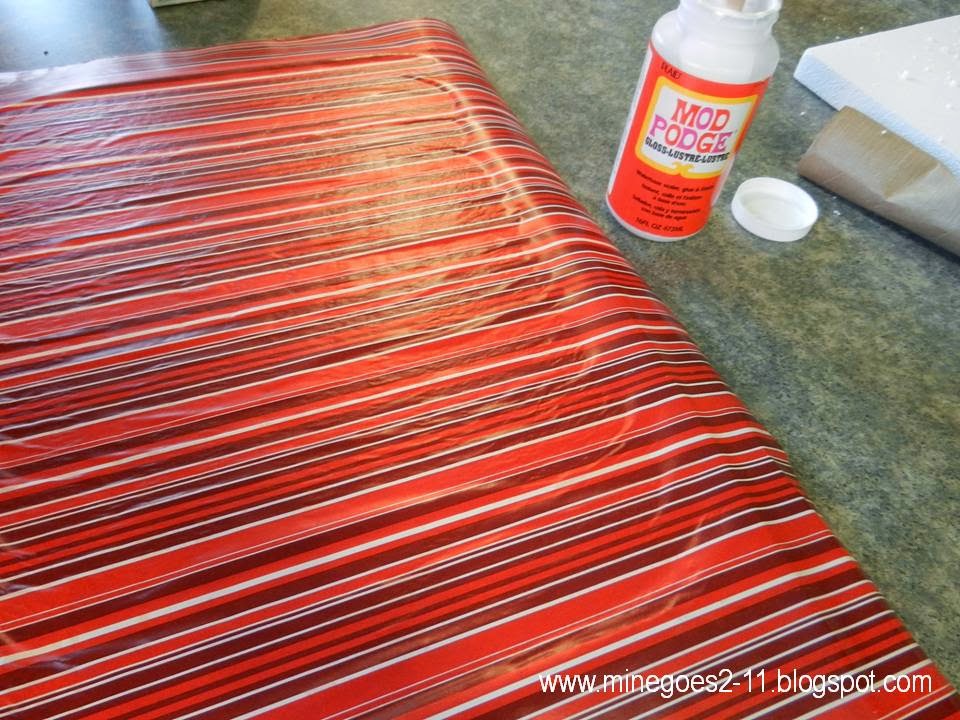
I wrapped the paper around the back and used more Mod Podge and tape to secure it.

The Keurig lended a helping hand to drying. (A Keuring is not necessary for this project, but wine is critical.)

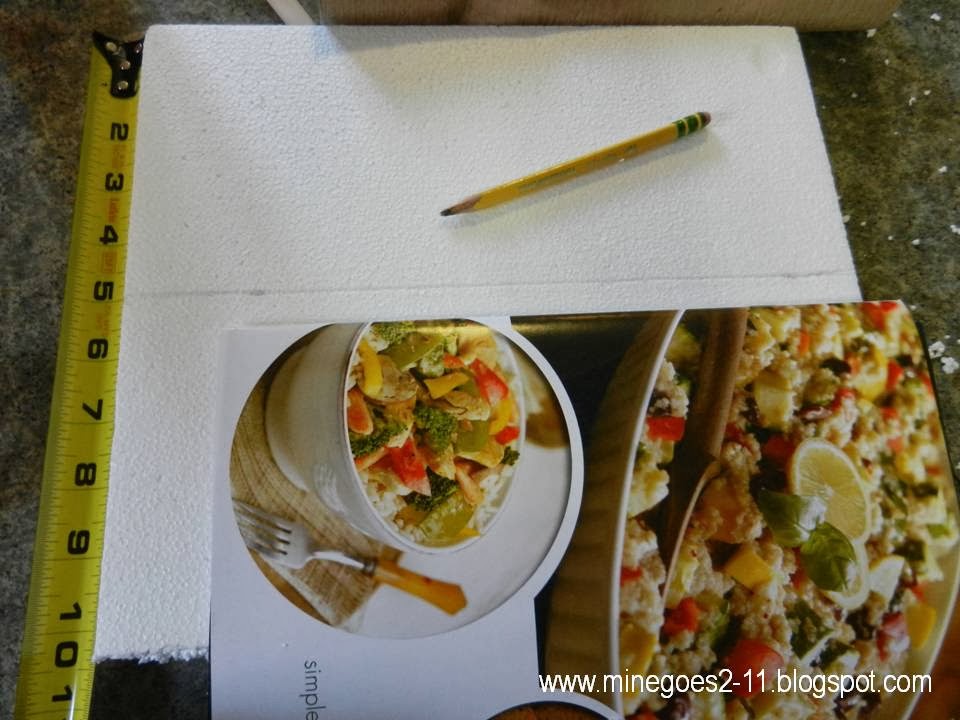
I measured the remaining foam board and used a Wildtree catalog to cut it in half to make the roof. (Wildtree catalog is not required for this project, but wine is.)
I wrapped each piece in another color wrapping paper. It is reversable...this is the inside of the paper.

When I wrapped it, I realized that I didn't have enough (I blame the wine), and white would show on the underside of the roof. Wrapping fail.

No worries. I cut a piece the same size as the back, and Mod Podged it right on top. Wrapping win!!

I cut squares of red tissue paper and numbered them 1-24 with a Sharpie. Make sure to write over something, or you will Sharpie your counters.

Next I put everything out playing with different layouts to see what I liked. I eventually measured a grid of 24 dots to be the center of each tube.
 |
| Grey's Anatomy is as vital to this endevor as wine. |
I traced each tube with a small box cutter.

Then I cut on the inside of the circle that I drew with the knife.

I shoved the tube back in to the cut outline to ensure that it fit. For the 24 red and white tubes, I kept them all in until I was ready to glue. Keeping them in without glue helped me to line them up. Once all of the circles were cut, I glued the circle and put the tube back into the slot.


For the red and white tubes, I removed one row at a time, glued one at a time, and replaced it into the pre-cut circle. Since the tubes aren't perfectly round, the traced circles aren't perfectly round...so it is important to keep each tube with its traced place on the board.


I used toothpicks to create the roof. I used one toothpick cut in half to connect the two roof pieces, and two toothpicks to connect the roof to the house. I "pre-drilled" the holes, lined everything up, and removed the toothpicks.
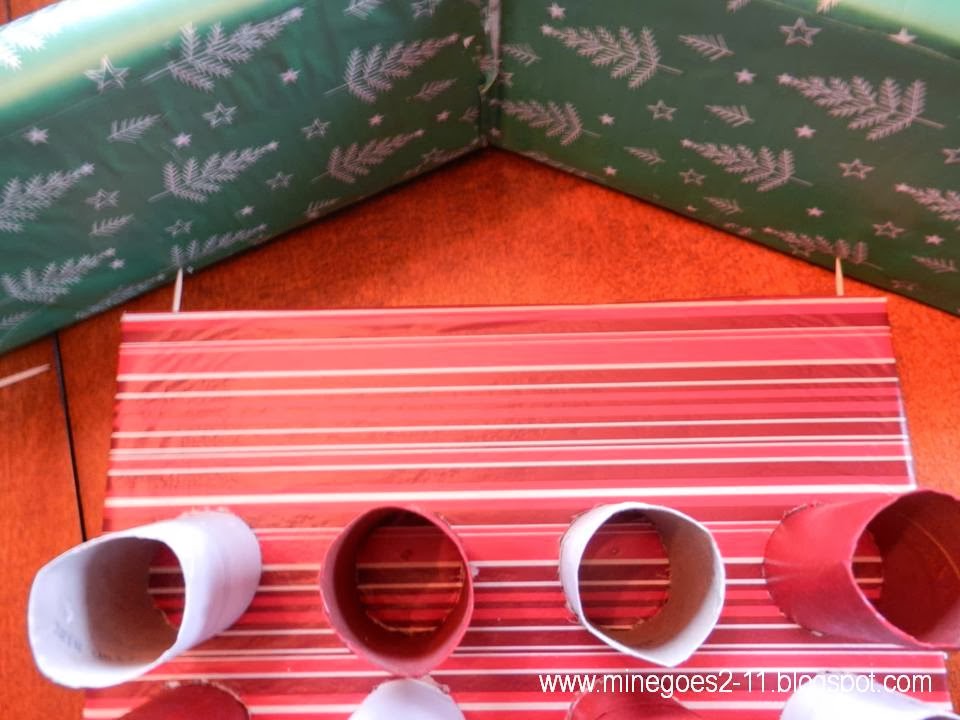
I put hot glue into the holes, put the toothpicks back into the foam, and pushed the pieces together.

Once everything was shoved together, I used the hot glue to "caulk" the back of the house..keeps the cold air out.

I gathered up my loot for the gifts. I only bought the stickers, necklaces, and bracelets. I found the jewelry in the party favor section of Target. The rest of the items I had around the house and included: sparkly letter stickers, foam hearts, and leftover Halloween candy. I shoved them in the tubes, covered them with the numbered tissue squares, and secured with a rubber band.
 |
| Using Halloween candy for the Advent calendar...parenting win! |
Finally I dug a hole in the back with the knife, hammered a nail in the wall, and hung up the calendar.

It is sitting at the bottom of the stairs so she sees it every morning, but is in the gated off section of the house, so she won't be able to raid the goods with my back turned.

In addition to wine, this project requires good supervision...
 |
| "Could you get us some more pillows...or perhaps a peanut butter cocktail??" |
Looks great! Very fun and creative! Maybe I should make the same thing for Paul... it would cost me a little more to make it because I do not have a gate to protect it...
ReplyDelete